Setting up and using custom domains
Our software provides powerful support for custom domains. You can set up 1 or more custom domains for your account. This allows you to use your own domain for your various pages, webinars, meetings, etc... For example, you could use a custom domain like “mycustomdomain.com” or “webinar.mycustomdomain.com”. This is a great option if you want your potential registrants and attendees to focus all their attention on your brand.
To get your custom domain(s) set up, you must contact our custom support team who will will walk you through the process.
The process typically involves adding a CNAME record with your domain registrar (I.E. the company you registered your domain with). This process is relatively simple and our team will walk you through it.
Once your custom domain is set up, your registrants and attendees will be able to access all your registration, thank you, watch room, and replay pages using your custom domain.
Viewing your domains and setting your default domain
You can easily view all the available domains enabled for your account and set your default domain. Simply navigate to your account settings (from the top right menu), and navigate down to the "Profile Information" section. From there, under the "Default domain" dropdown, you can see all your available domains and you can also select the domain you'd like your events to use by default.
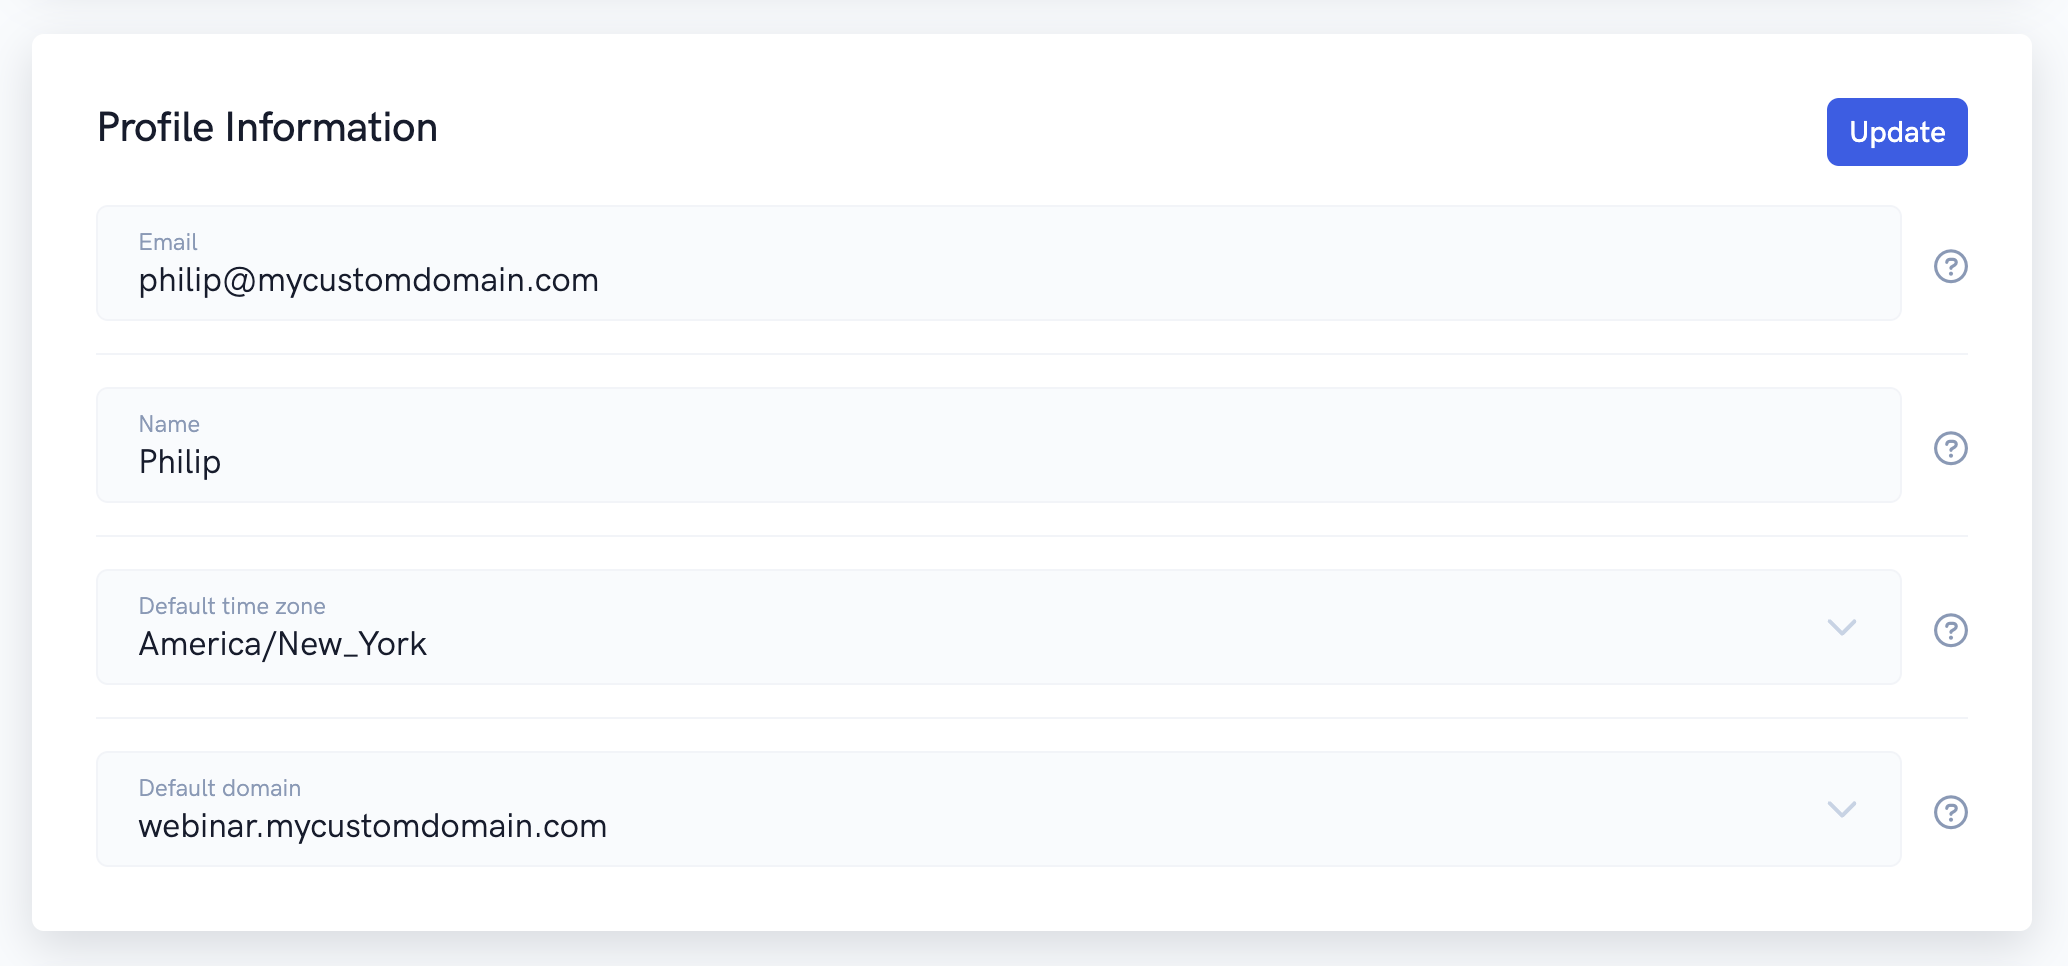
If you update your default domain, be sure to click the "Update" button to save your settings!
Changing an event's domain
If you want one of your events to use a specific domain that's different from the default domain (shown above), simply navigate to your event's "Details" settings page and scroll down to the "Domain" section.

Click on the "Edit" button and from the dropdown select the domain you'd like your event to use. Then, save your settings and that's it!

Related Articles
Webinar Watch Room Attendee Sign In Setting
Learn about the "Toggle attendee sign in required" setting Our webinar software allows you to require attendees to sign in in order to access the webinar watch room. If this setting is enabled, registrants either need to use their unique webinar ...Using 3rd party application integrations
In this article, we'll cover each of webinar's 3rd party integrations and how to use them in detail. This webinar platform comes built-in with a variety of 3rd party app integrations. This means you can easily do things like send registrant details ...Using the webinar watch room builder
In this article, we'll show you how to fully customize the watch room where people actually watch your event presentation using our powerful builder. Whether you're running an automated or live webinar, you're going to want to make sure your watch ...Setting up and running live webinars
In this tutorial, we'll walk you through everything you need to know in order to set up and run your live events. In this tutorial, we'll guide you through setting up and running live webinars on out platform. Setting up your live webinar The first ...Using our webhook features
This article will explain what webhooks are and how to use them. Warning: This feature is primarily meant for advanced users and developers! Webhooks are a lightweight API that allows for one-way data sharing triggered by events. In other words, you ...