Getting started
The tutorial below shows you how to get up and running with our webinar software when you sign in for the first time. By the end of the tutorial, you'll have a good understanding of how to navigate the software and where to find each feature.
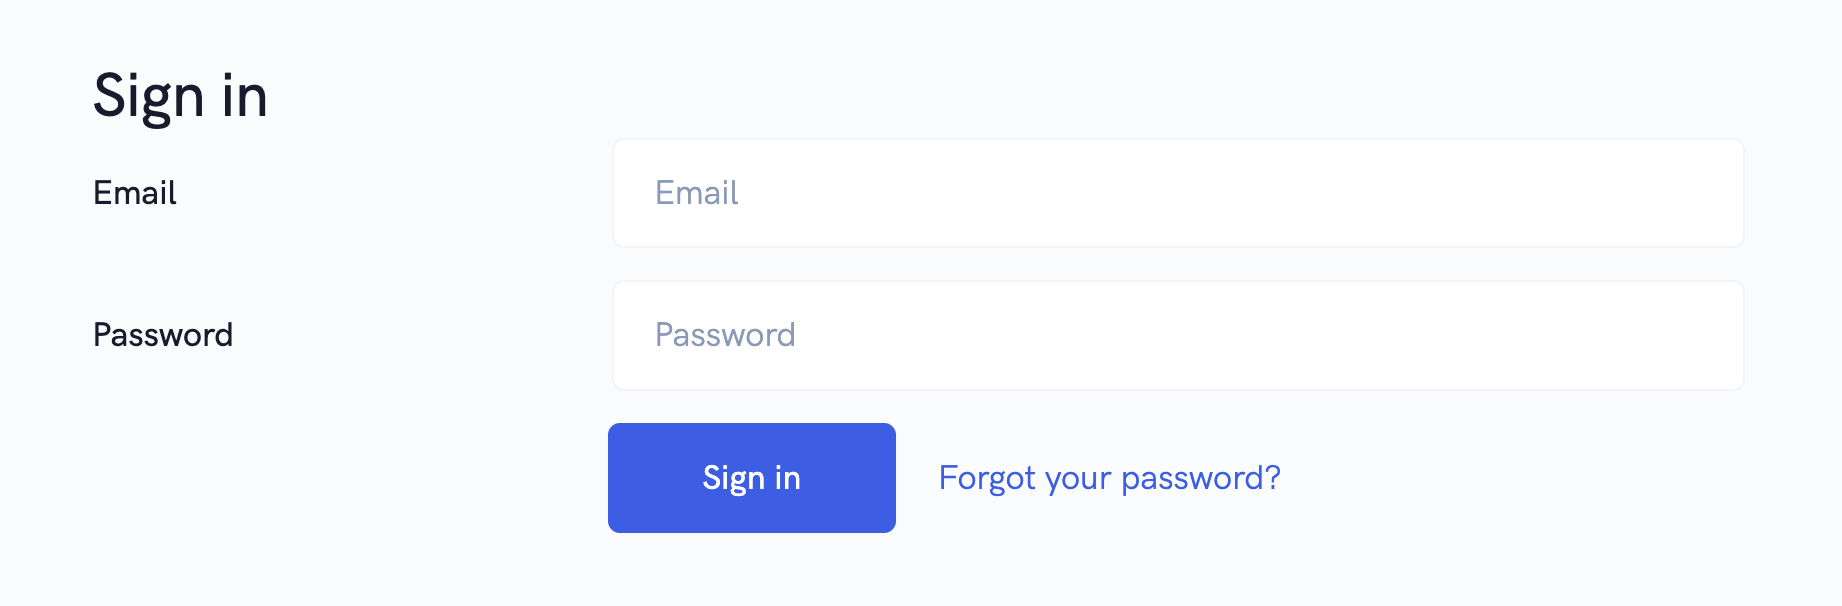
First you'll want to sign in to your account using your account details.
After signing in, you'll be taken to the webinars dashboard.

In the top menu, you'll be able to access our help desk and tutorials. From the top right, you can access the main menu where you access various features in your account, as well as your account settings.
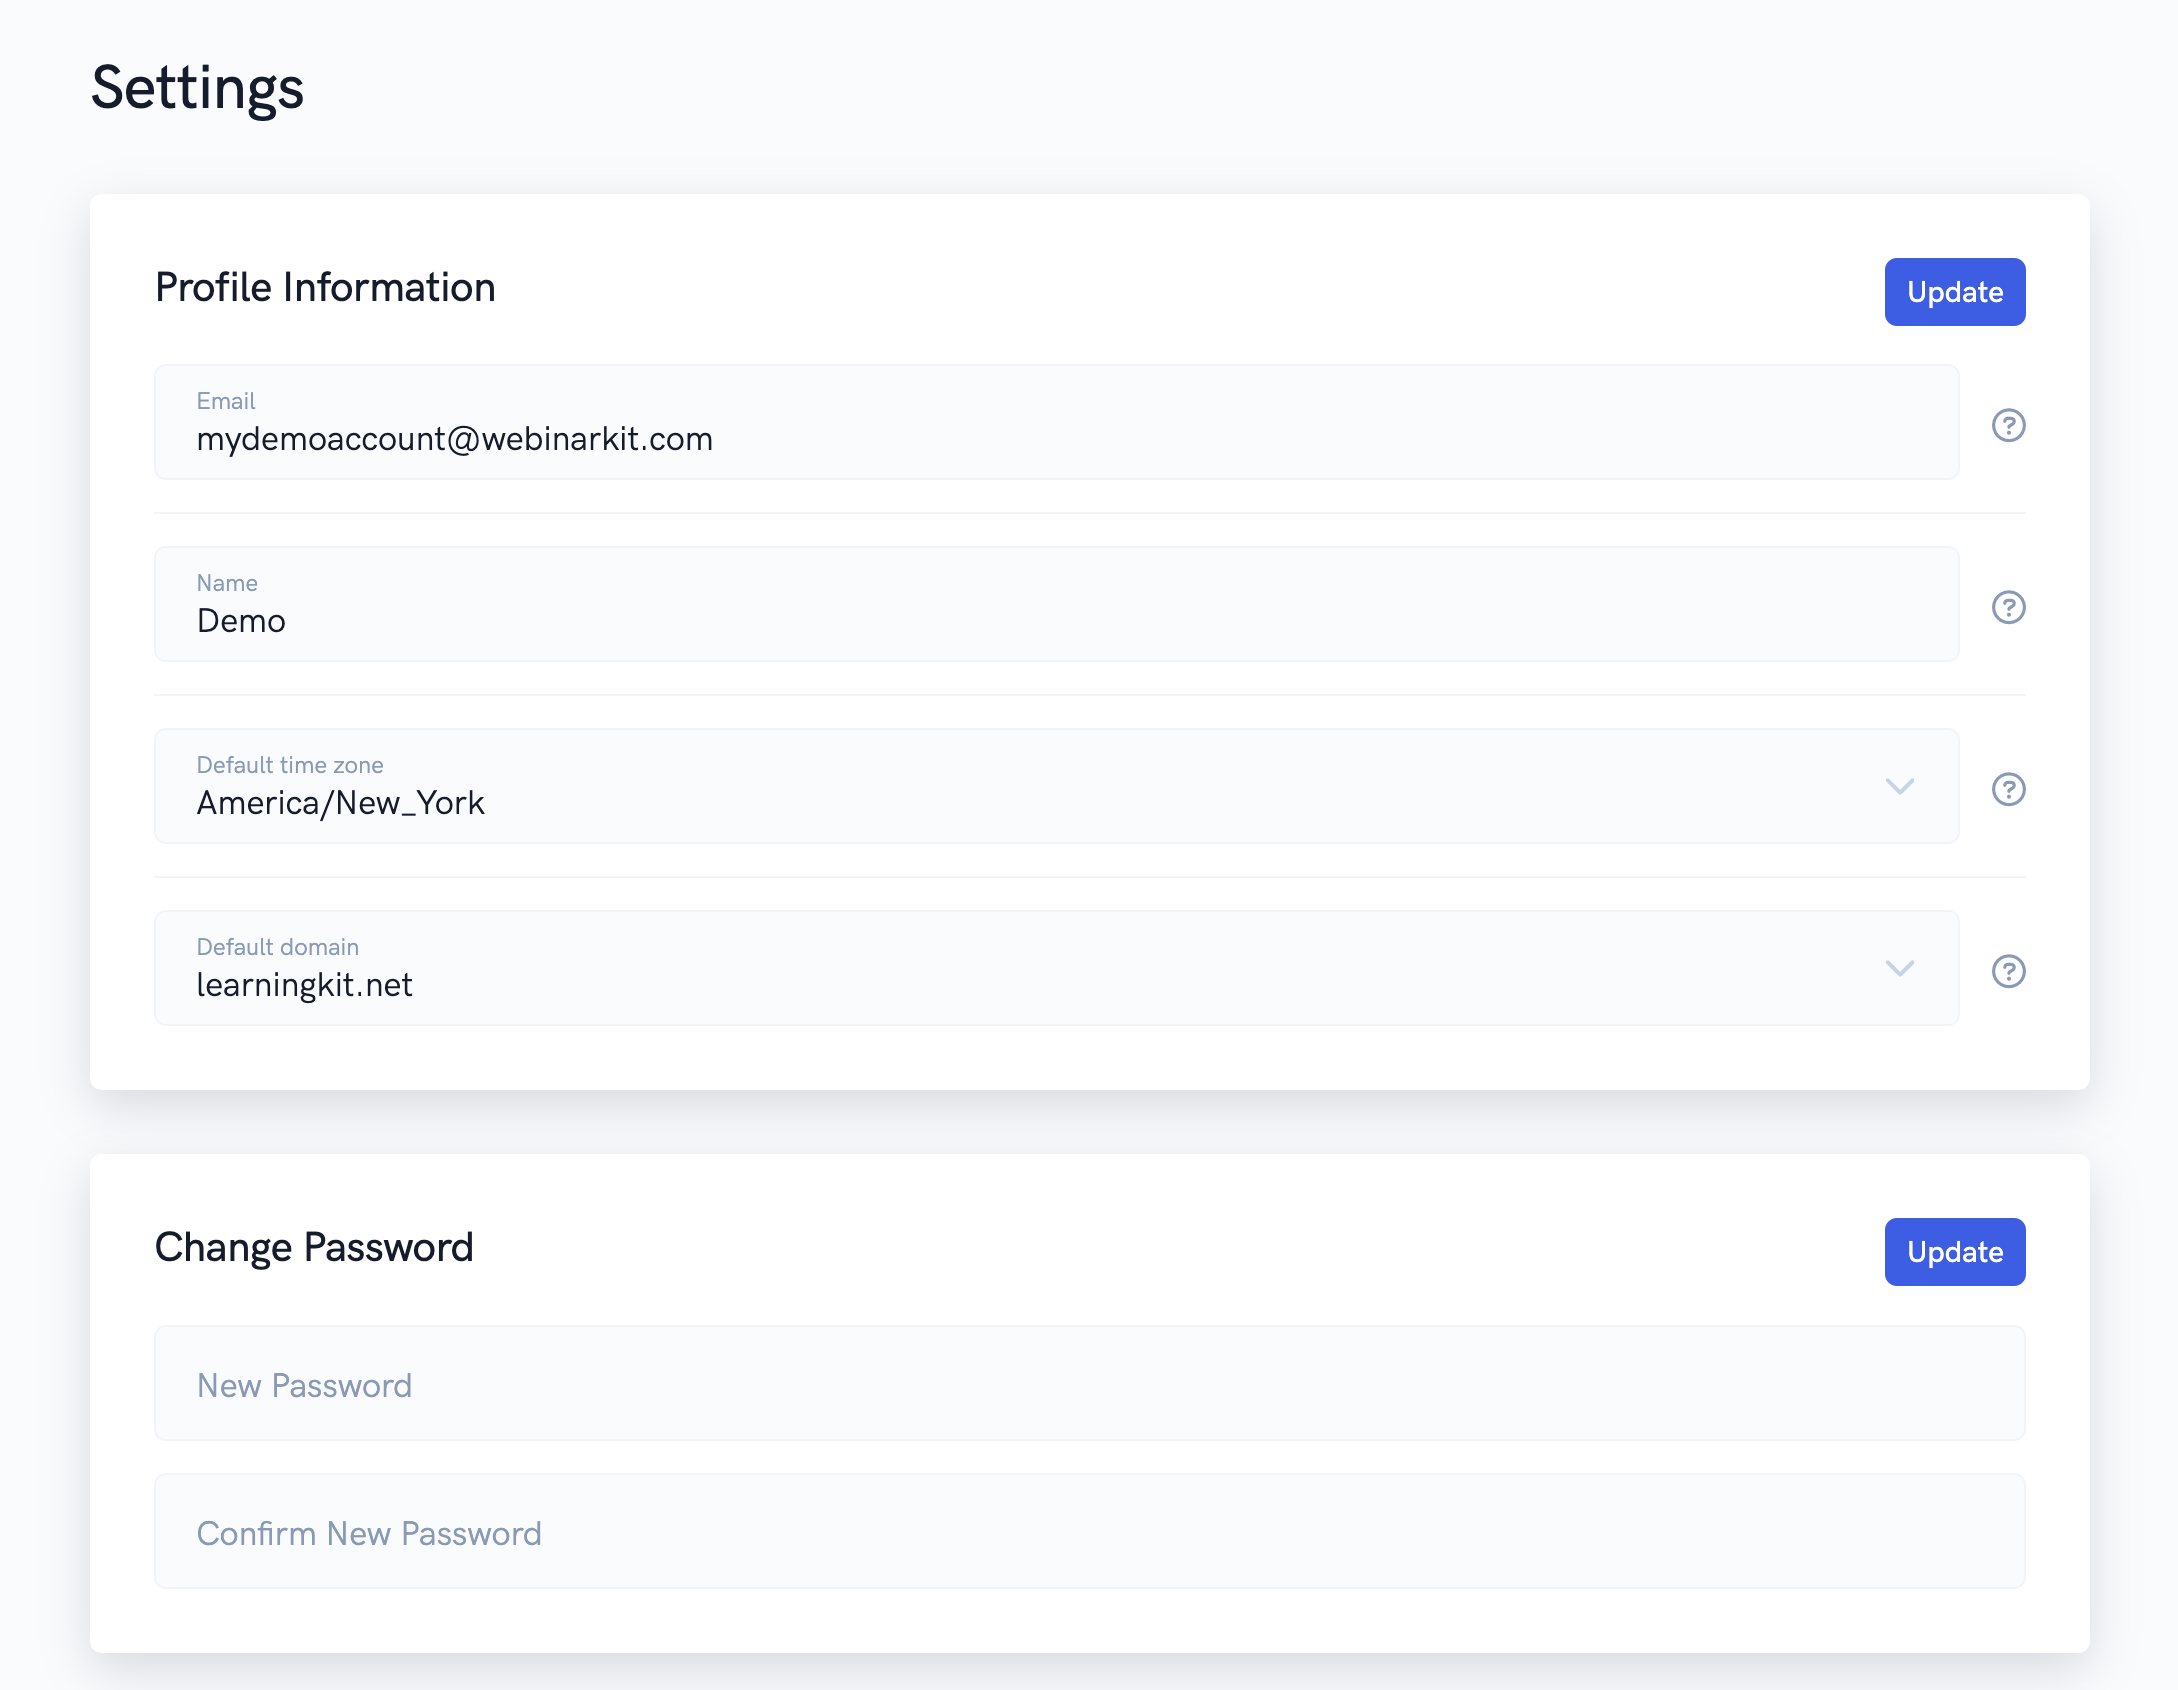
On the settings page, you'll be able to change your profile information, the name of your account, and your email. You'll also be able to update your password.
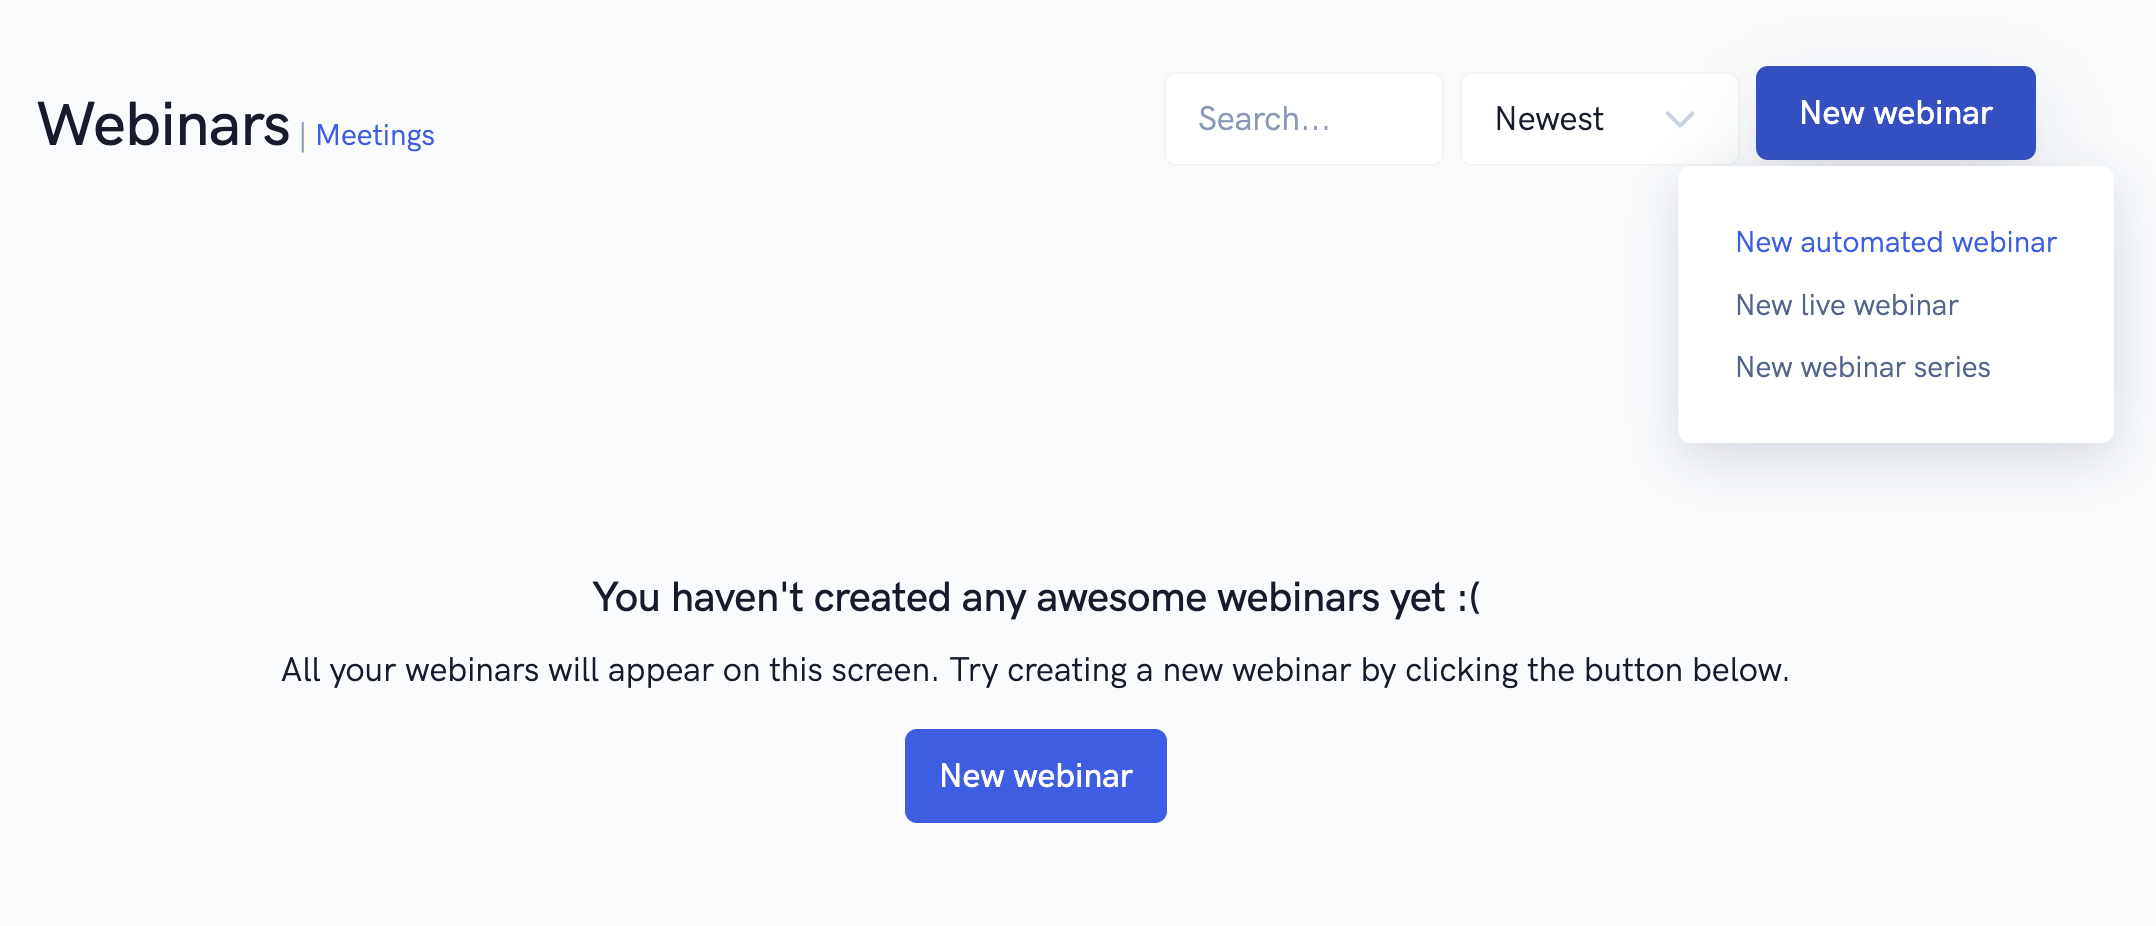
Back on the webinars dashboard, you'll be able to click the "New webinar" button to create a new webinar.
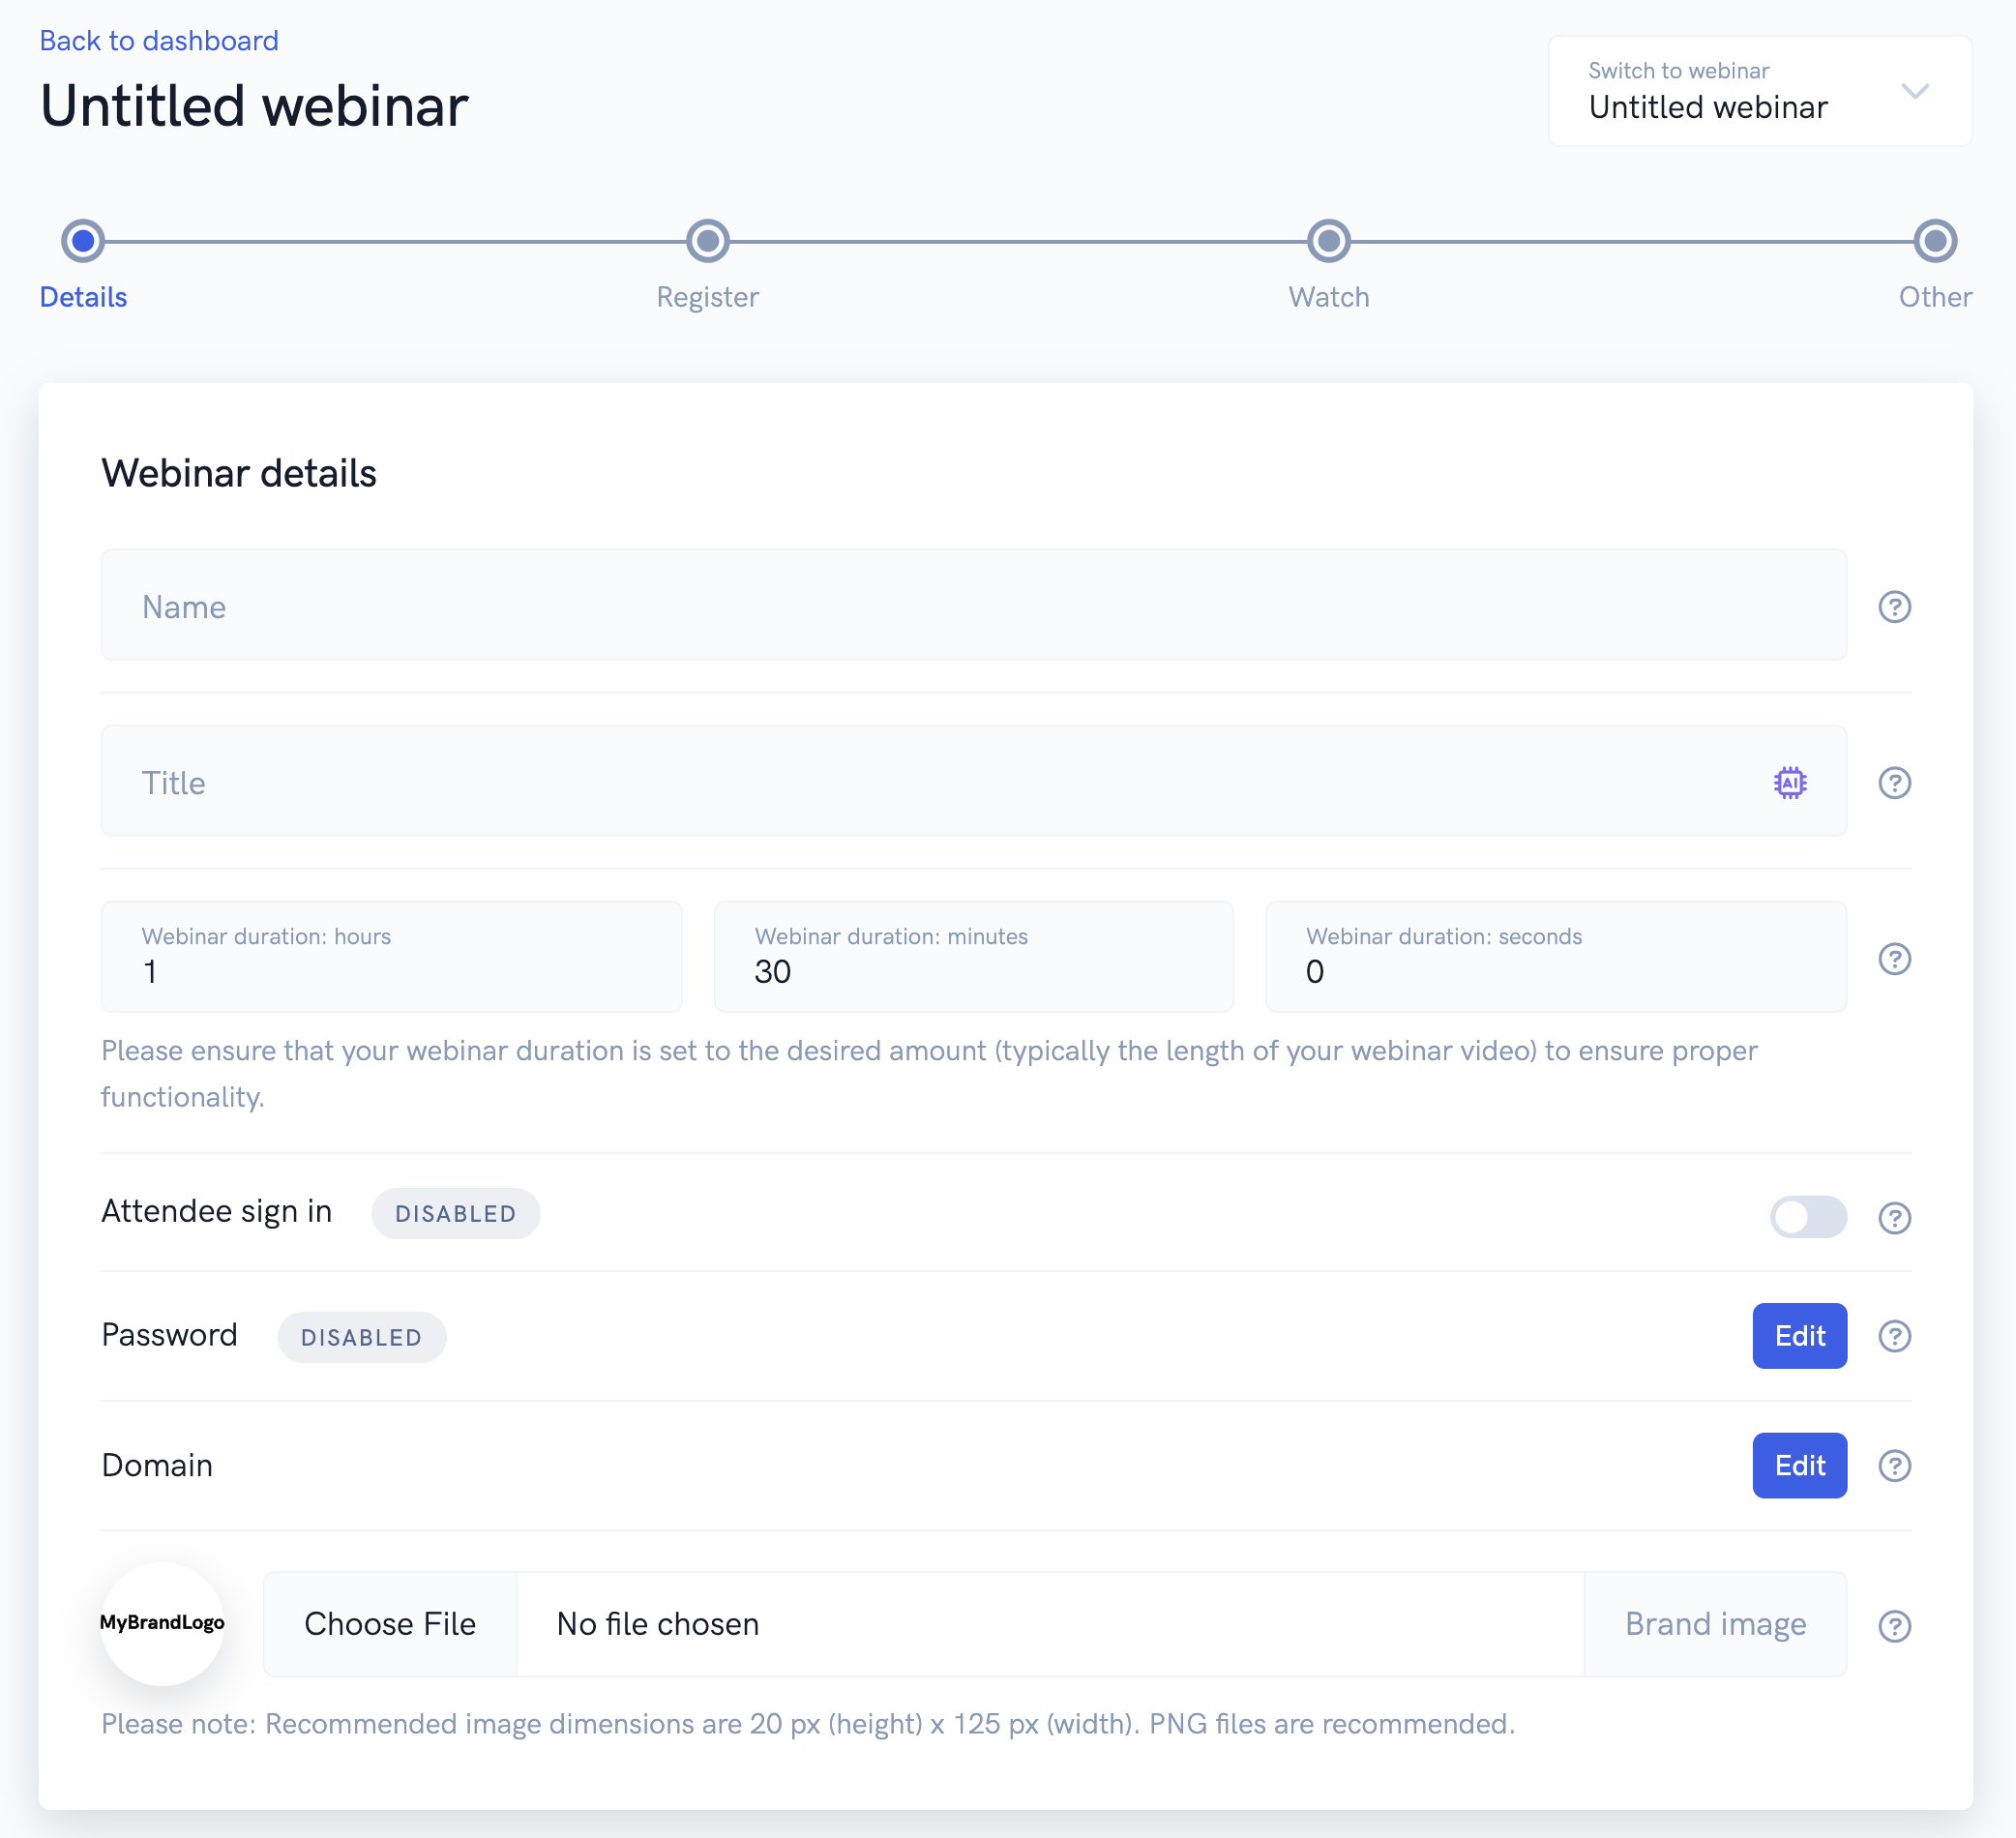
Once you create your webinar, you'll be able to fill in your details and customize it to your liking. For example, you can edit your webinar's title, duration, brand logo, etc...
In addition, you'll be able to setup your event's session schedule by adding things like instant watch sessions, just-in-time sessions, ongoing sessions, and specific date & time sessions.
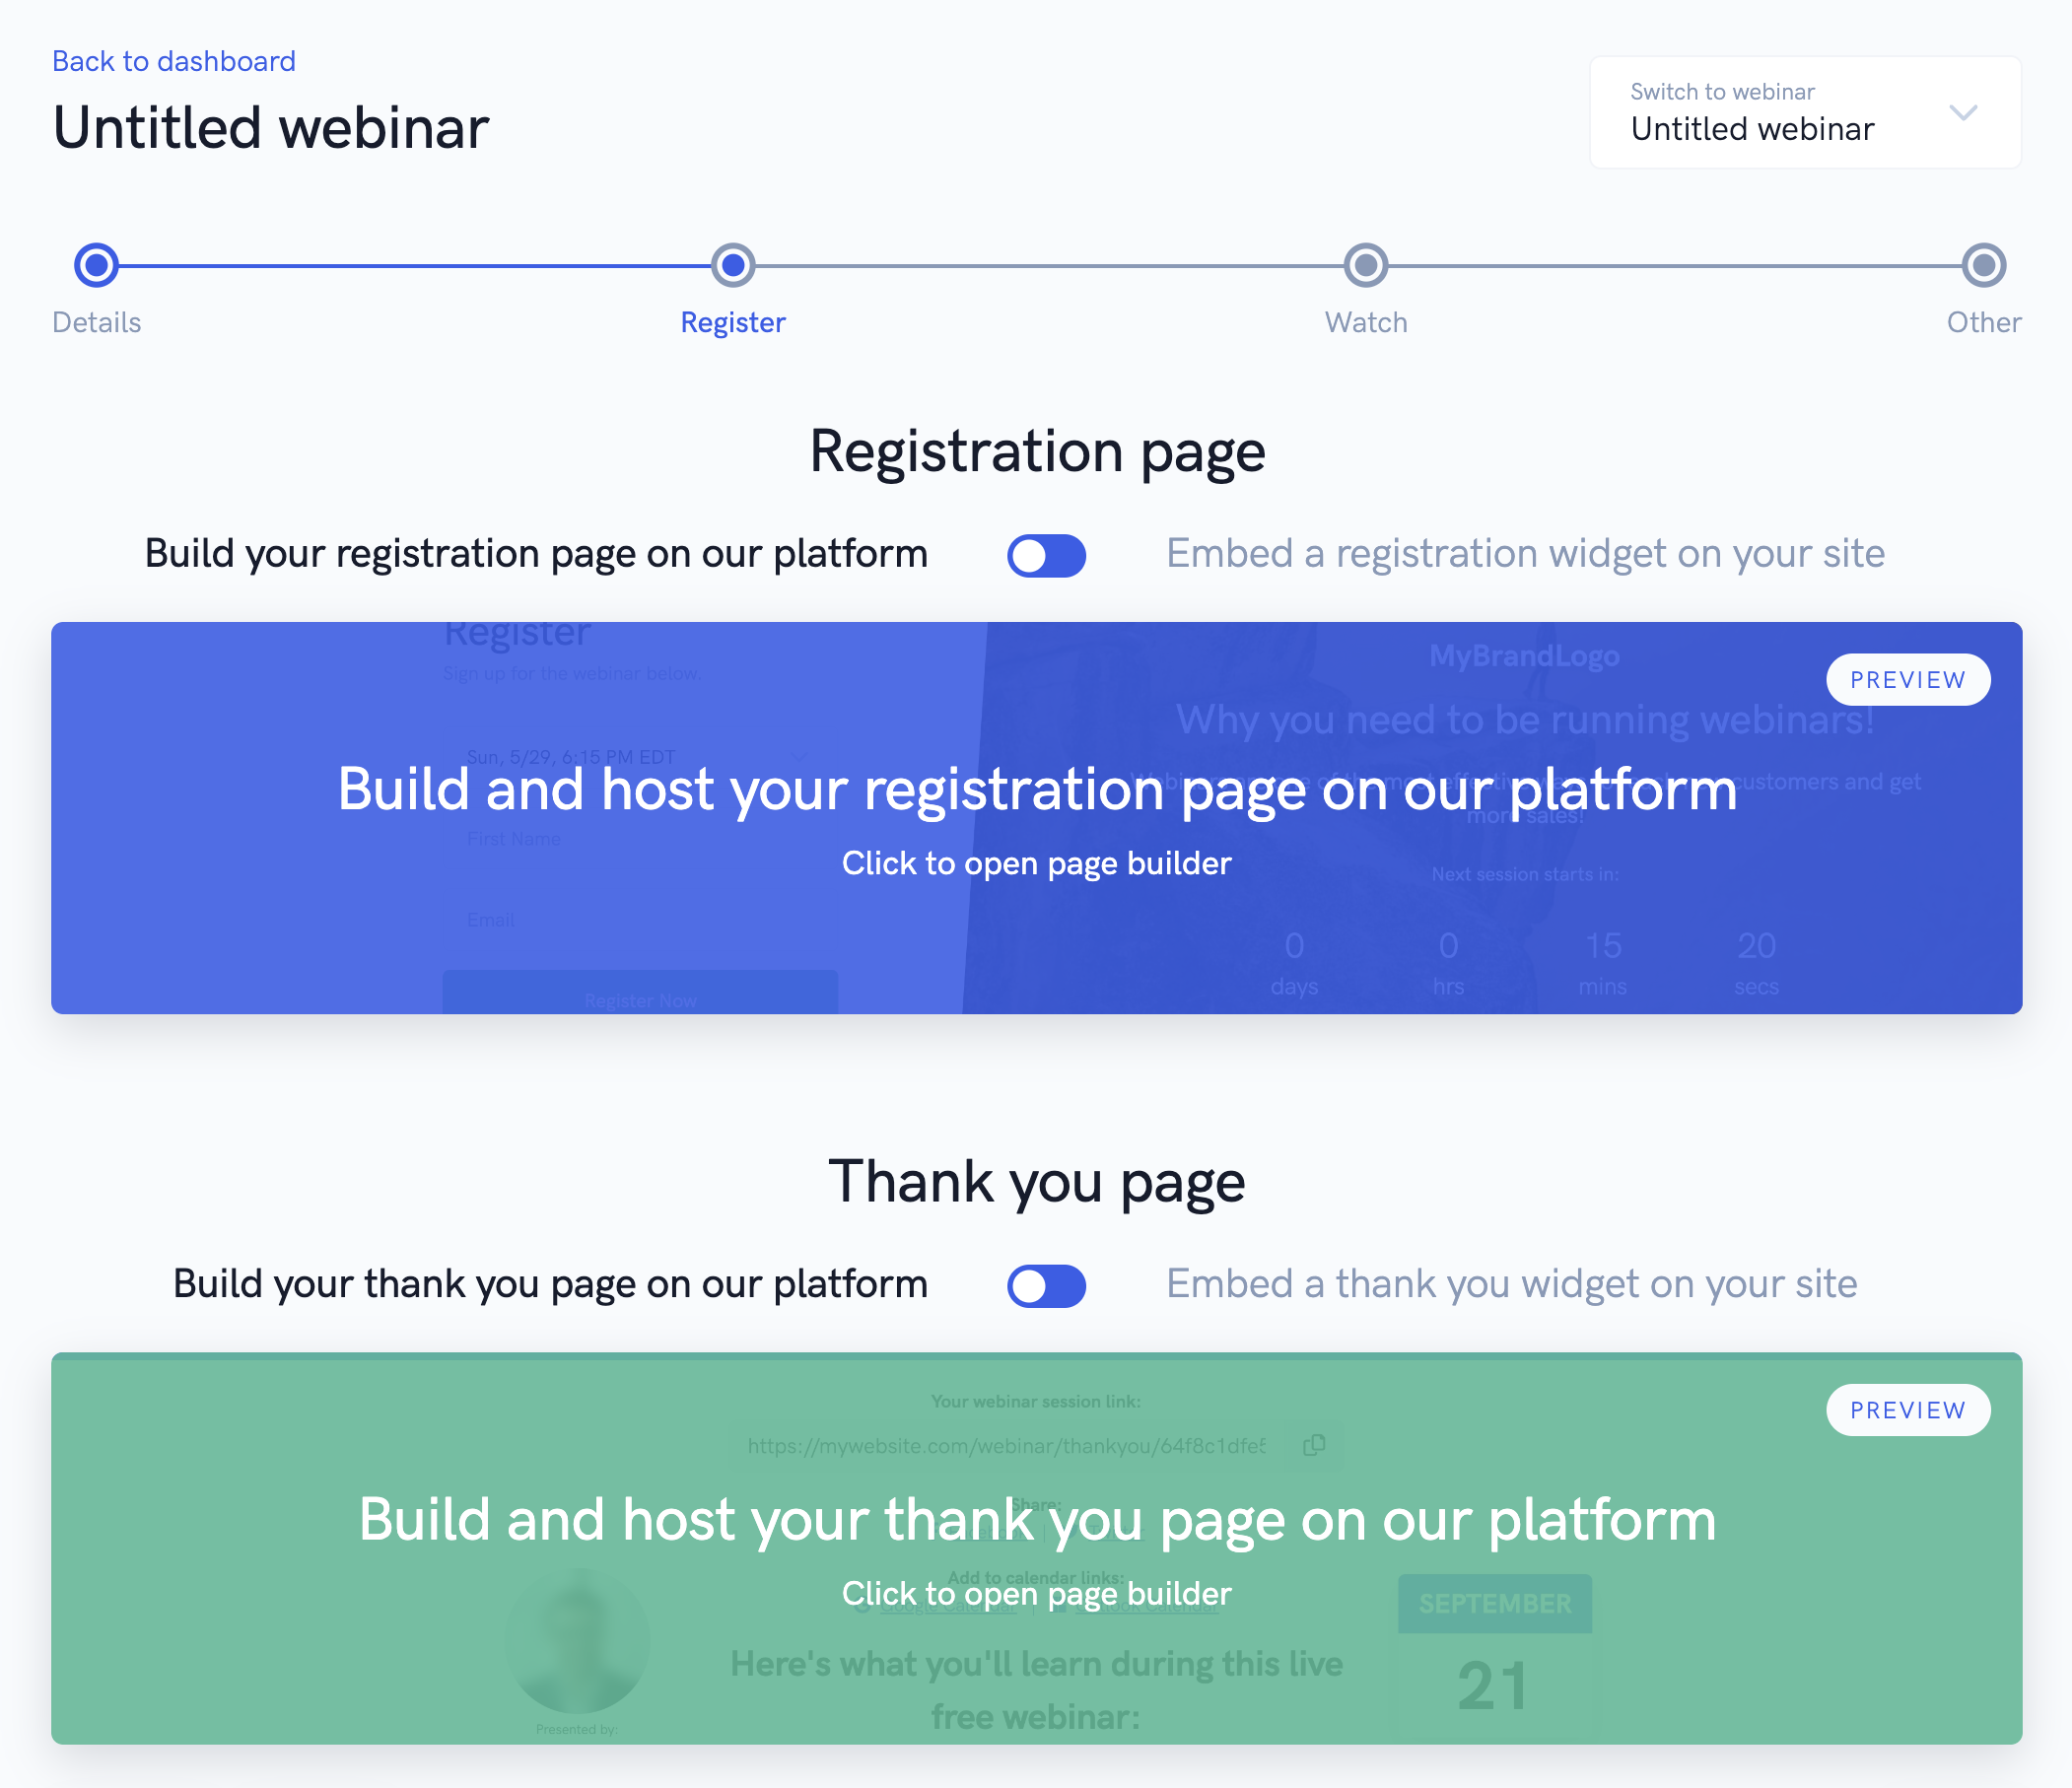
On the next step you'll be edit your registration page and thank you page using our platform's powerful page builder or embed builder (if you'd like to place registration / thank you embeds on your page or website). To learn more about using our page and embed builders, please see our in-depth tutorial on this topic in our help desk.
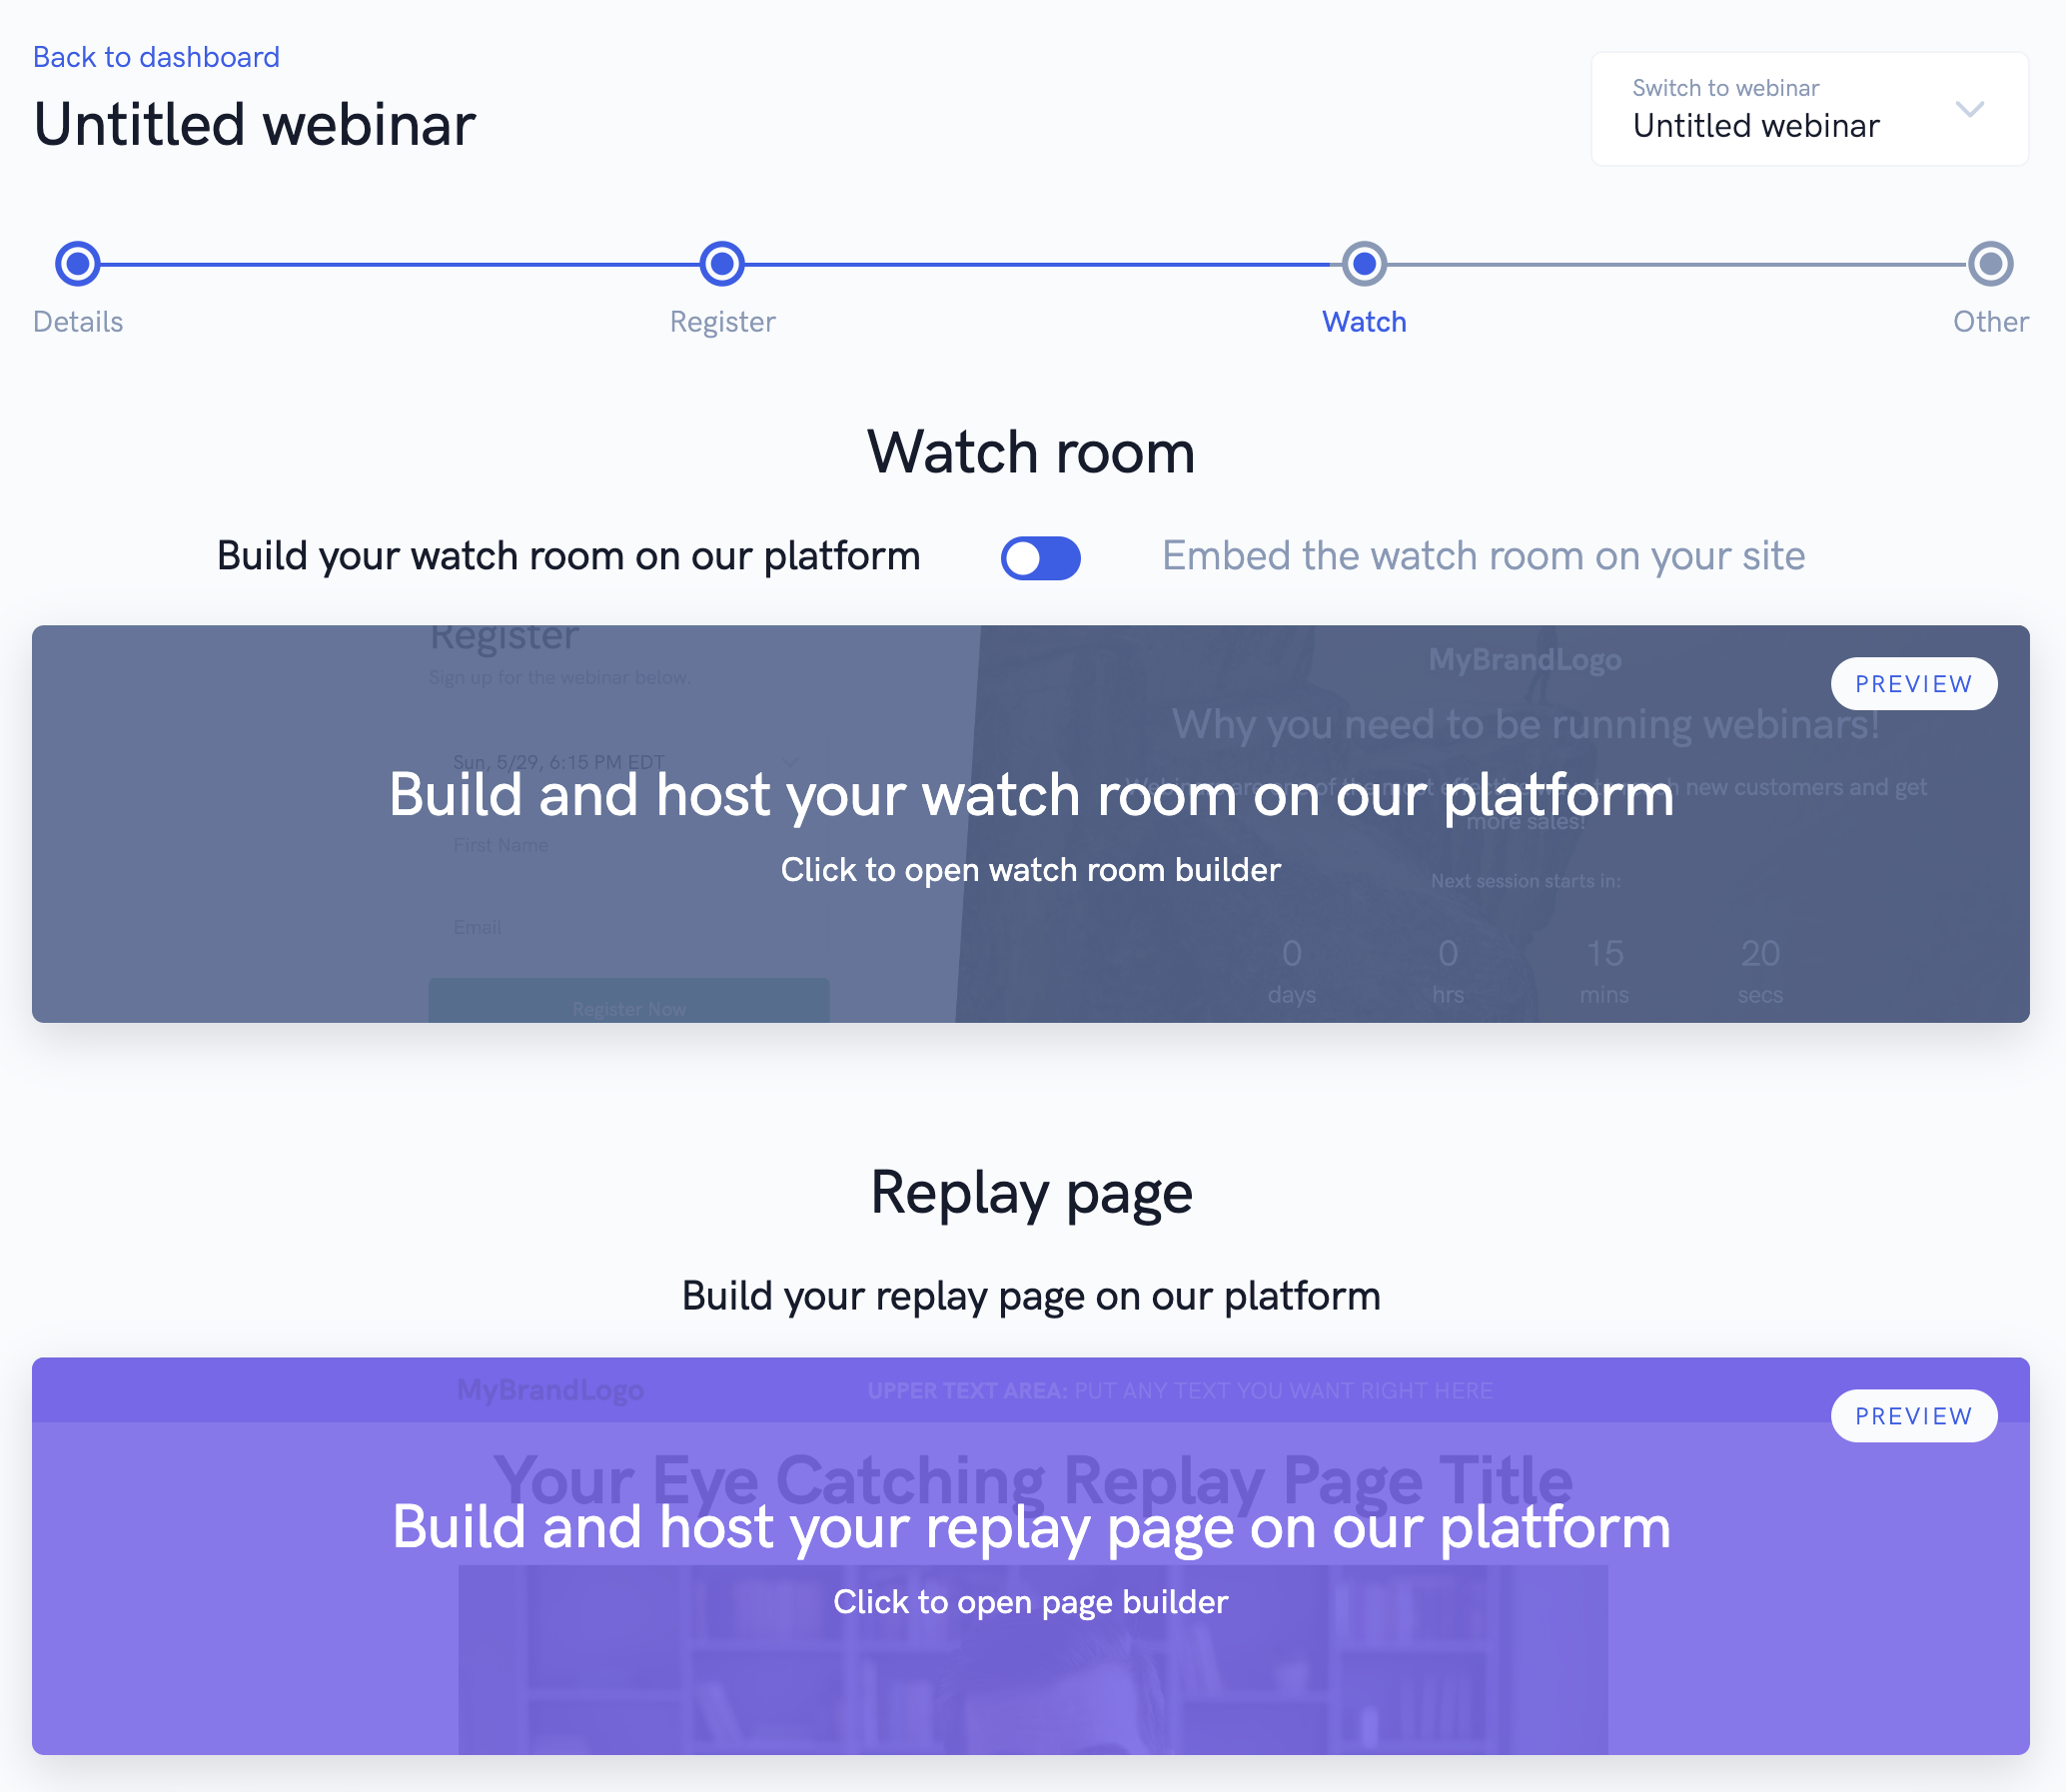
Next up, you'll be able to customize your webinar watch room using our watch room builder, and replay page using our page builder. To learn more about using our watch room builder, please see our in-depth tutorial on this topic in our help desk.
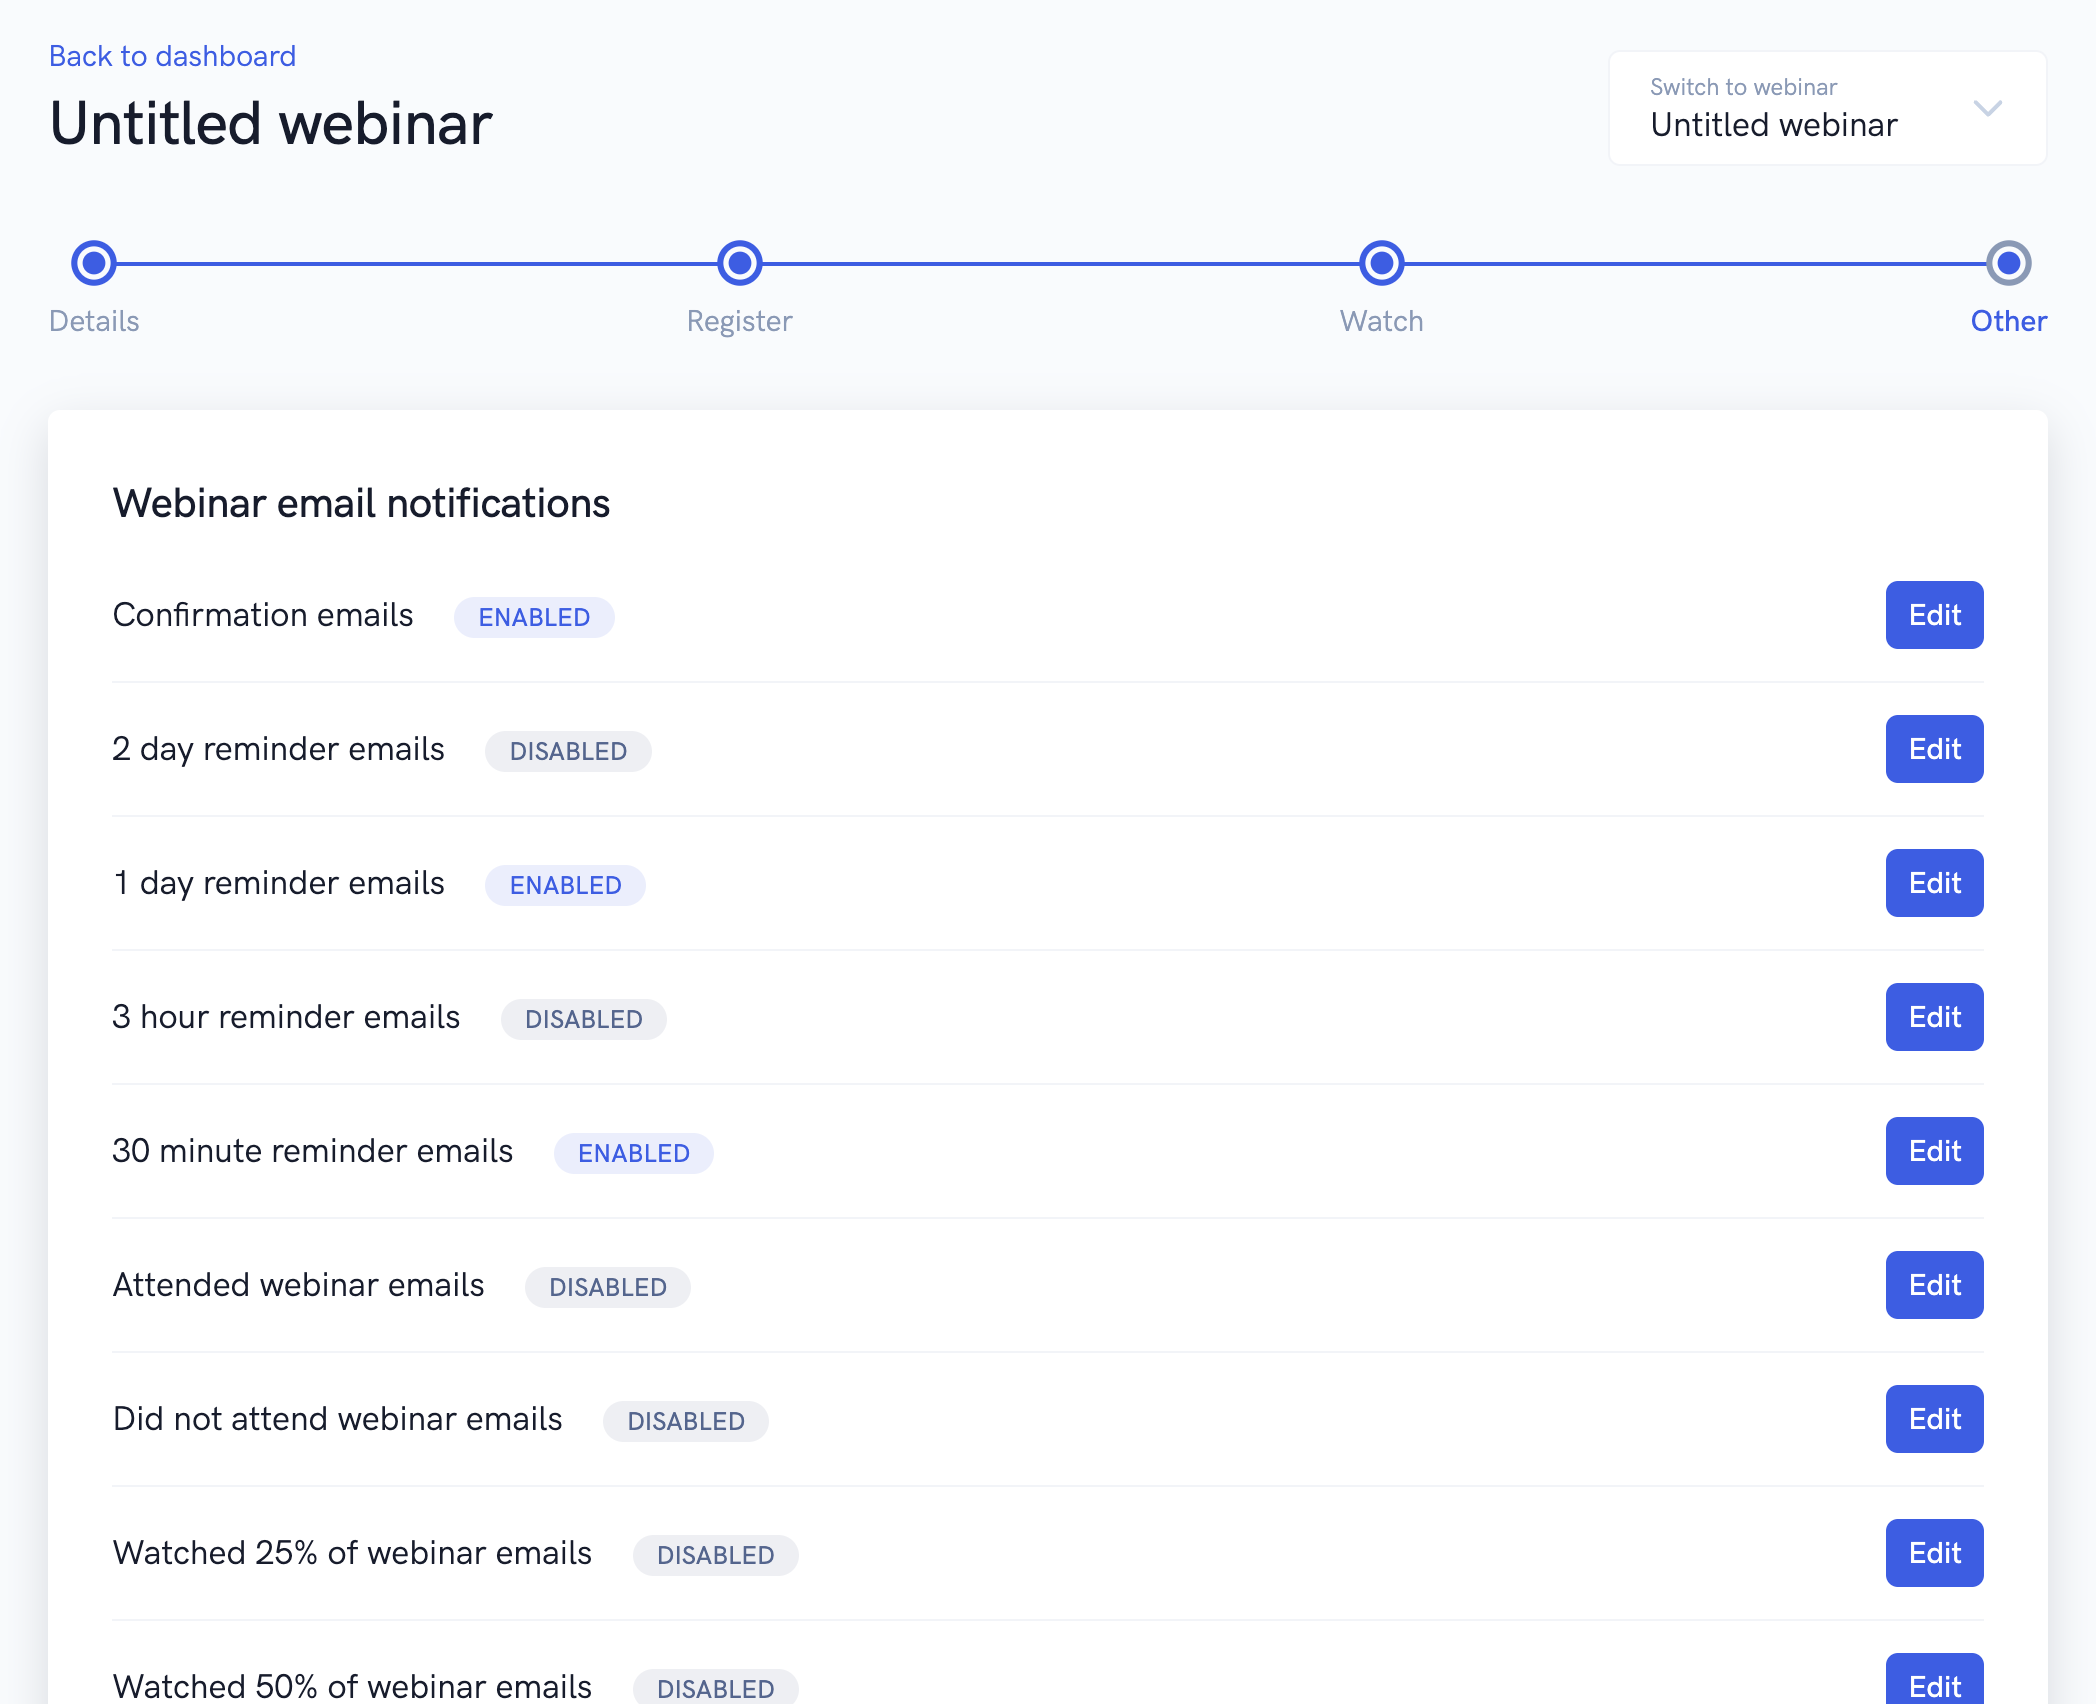
On the final step of editing your webinar, you'll be able to setup our built-in email notifications, text messages, and 3rd party app integrations.
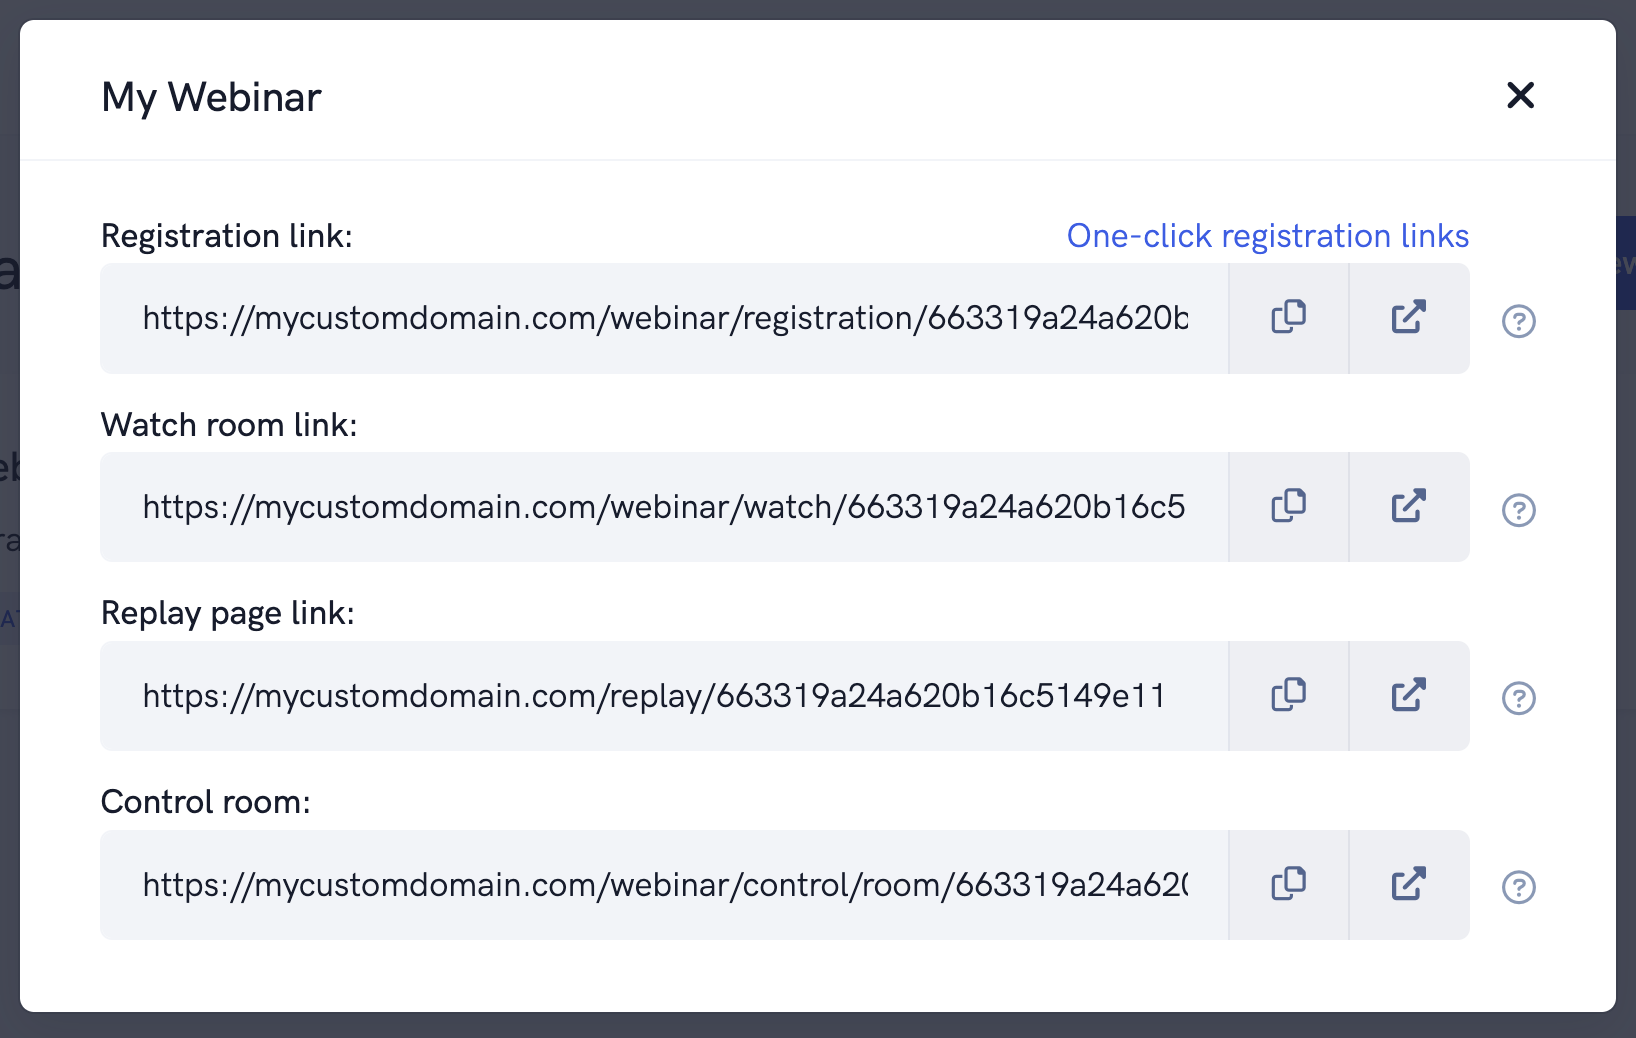
Once you've finished editing your webinar and customizing it to your liking, you can save your settings and return to the webinar dashboard, where you will see the webinar that you just created. From the webinar's dropdown, you'll be able to do things like get your webinar's link, view analytics, view chat history, and more.
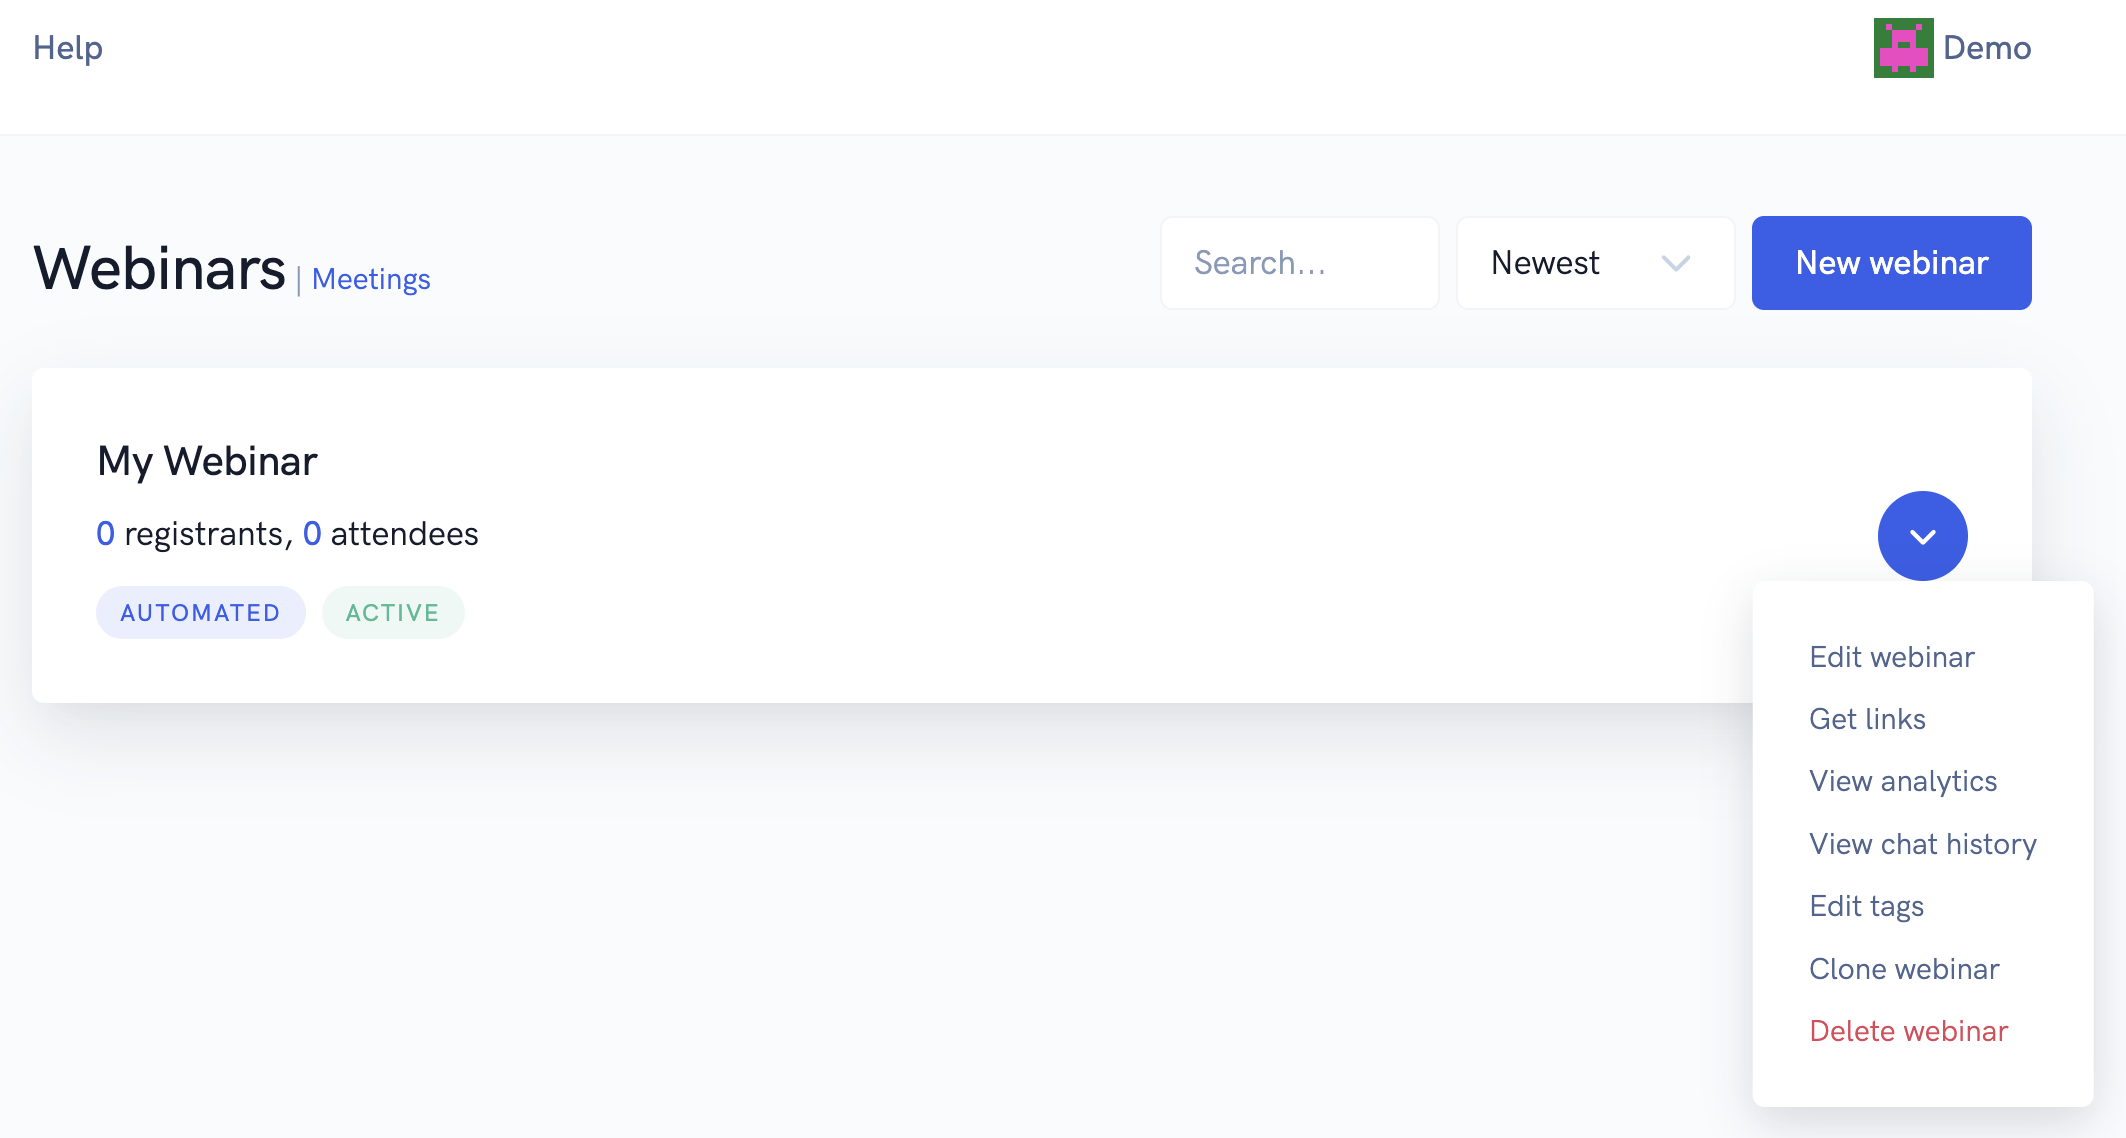
In the "Get links" popup, you'll be able to get all the important links for your webinar like the registration page link, which you can send out to people so that they can register for your webinar and then view your presentation. If you want to run a webinar (either a by broadcasting during a live webinar or live chatting during an automated webinar), you can goto your webinar's watch room link.
So that's the basics! Now you're ready to get started with building and running your events. If you have any questions or want to learn more about a particular topic, be sure to search our help desk!
Related Articles
How to embed a registration form into your own custom landing page or website
Learn how to add our registration form to any page. In this tutorial, you'll learn how to add the embeddable registration form onto a custom landing page. This is a great option if you already have a custom landing page that you want to use instead ...Create and run a webinar series
In this article, we'll show you how to create and run a series of virtual events using our system Our webinar software supports the ability to create and run webinar series. This means that a person can register for your series and automatically be ...How to use the page & embed builders to create high converting webinar funnel pages
In this tutorial, we'll show you how to use our powerful page & embed builders to create and edit a high converting registration, thank you, or replay page. Thanks to our powerful page builder, you can create a high converting registration, thank ...Using the webinar watch room builder
In this article, we'll show you how to fully customize the watch room where people actually watch your event presentation using our powerful builder. Whether you're running an automated or live webinar, you're going to want to make sure your watch ...Meetings Demo Overview
An overview of exactly how Meetings works. A powerful all-in-one tool that combines video conferencing, meeting scheduling, and sales funnels. Meetings is the perfect tool to handle one-on-one meetings, team meetings, sales calls, and much, much ...